A pay-per-view (PPV) live channel offers live events, such as sports matches, concerts, or special broadcasts, on a pay-per-view basis. It means that viewers have to pay a specific fee to access and watch a particular event or program.
To watch a pay-per-view live channel, viewers usually need to purchase the event or program. Once the payment is made, the viewer is granted access to the live broadcast.
Pay-per-view live channels are popular for major sporting events like boxing matches, mixed martial arts (MMA) fights, professional wrestling events, and championship games. They allow fans to watch these events in real time without attending the venue or relying on delayed broadcasts. PPV channels provide a revenue stream for broadcasters and organizers by charging viewers on a per-event basis.
To set up a Pay-Per-View channel with WpStream, follow the instructions below:
- Go to “All Channels” and “Add new Pay-Per-View Channel”

- Here, you can give your PPV live channel a title, description, a featured image, tags, and categories.

- Select the ‘Product data’ as ‘Live Channel’ and add a price

- Publish your channel

- Click on ‘Channel Settings’ where you can check out any settings you wish to enable/disable

- Turn ON your channel

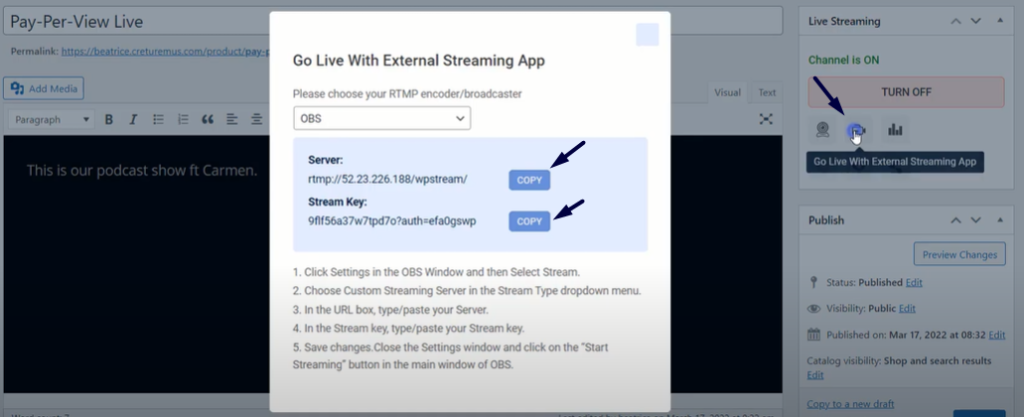
- Click on ‘Go Live With External Streaming APP’ and choose which one you wish to go LIVE. We are using OBS Studio, so make sure you open OBS to follow along

- Go to OBS Studio > “Settings” > “Stream”. Add the Server and Stream Key.


- Click on ‘Start Streaming’

- Go ahead and click on ‘View Channel’

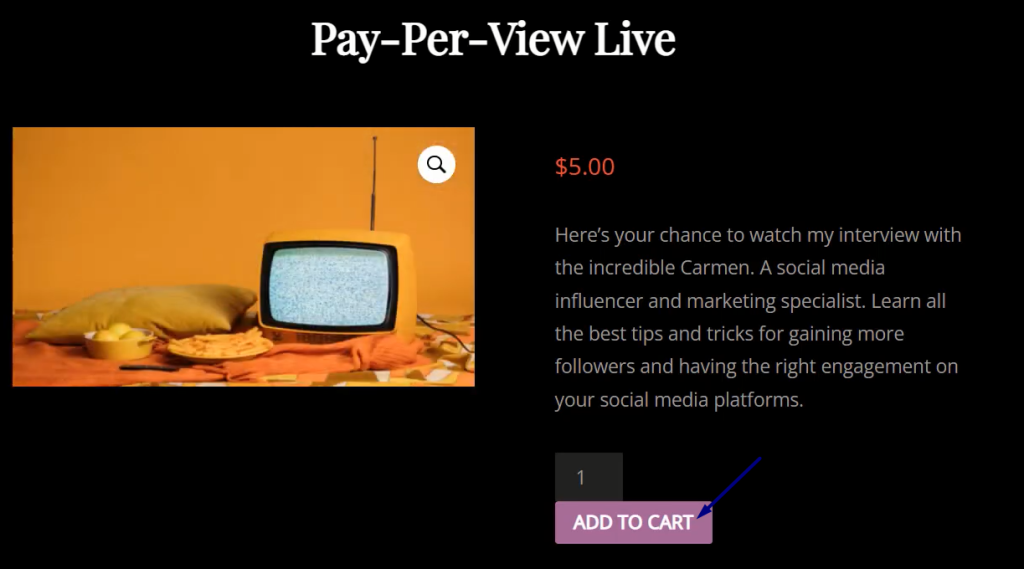
- Because this is a Pay-View-Product, you will not be able to access it unless you make a purchase. You will see the “Add To Cart” button displayed. Purchase the product.

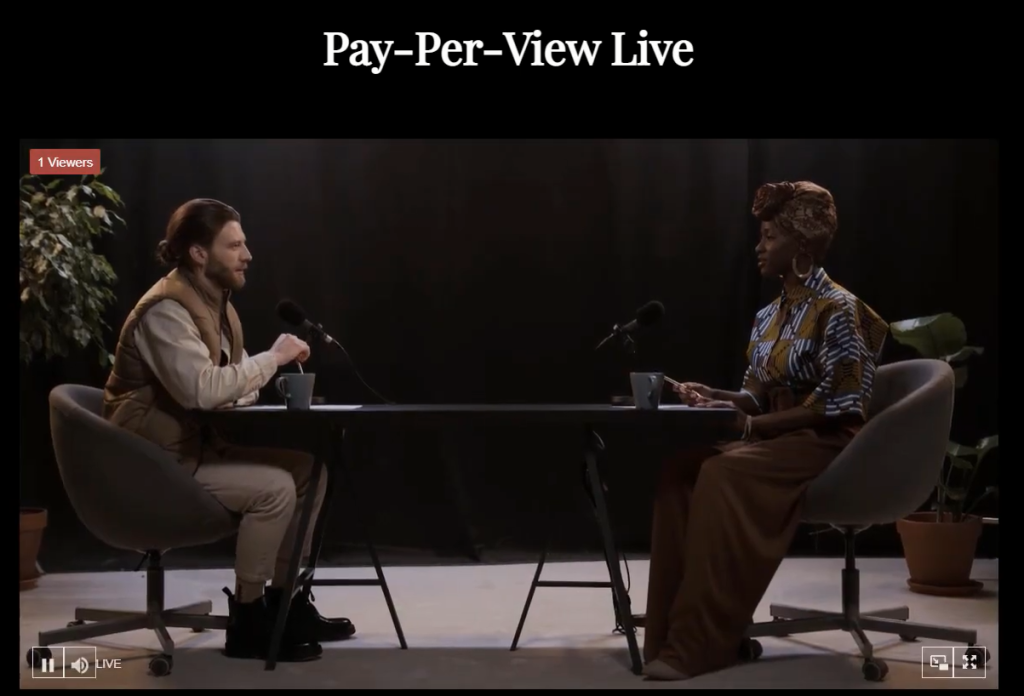
- After you (or your customer) haa made the said purchase, you will now be able to view the live stream if you click on the link in your confirmation email or ‘My Orders’ in your account.

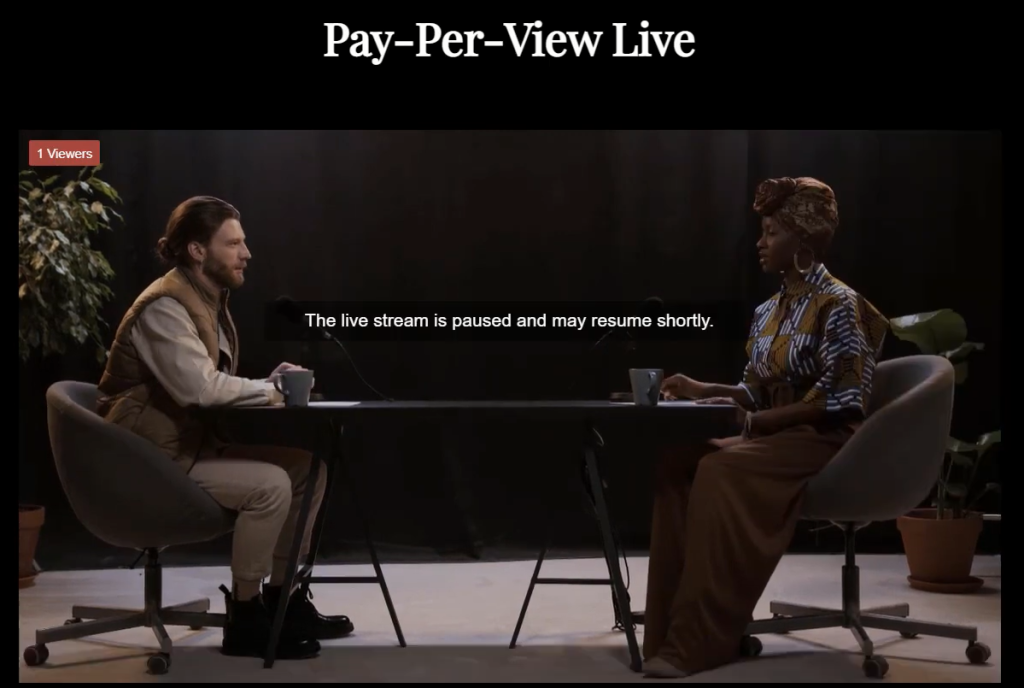
- To end your live stream, go back to OBS Studio and click on ‘Stop Streaming’


