A free-to-view live stream refers to a live broadcast of an event or program that is available to viewers at no cost. It means that viewers can access and watch the live stream without having to pay any subscription fees or purchase the content. Free-to-view live streams are often provided by broadcasters, streaming platforms, or event organizers who want to reach a wide audience and make their content accessible to as many people as possible.
Watch the video tutorial here:
To create a free-to-view live stream on WpStream, follow the instructions below:
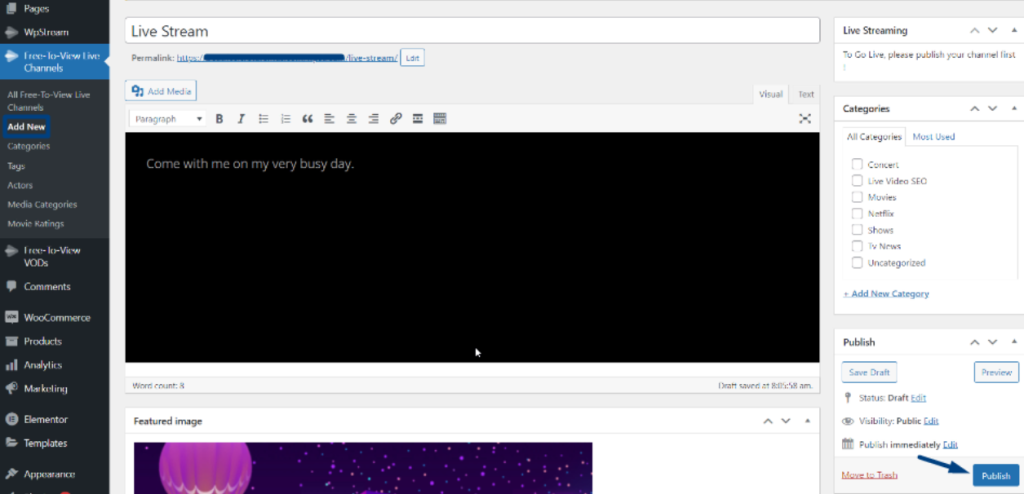
- Go to “Free-To-View Live Channels” and “Add New”. Add your title, description, tags, categories, featured image, etc. ‘Publish’ your channel.
- After publishing your channel, you can check out your “Channel Settings”. Here, you can enable recording, adjust whether you want to enable or disable your viewer count, and any other settings. Exit the pop up when ready.
- After publishing your channel, you can check out your “Channel Settings”. Here, you can enable recording, adjust whether you want to enable or disable your viewer count, and any other settings. Exit the pop up when ready.
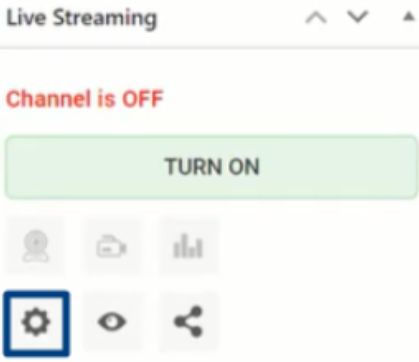

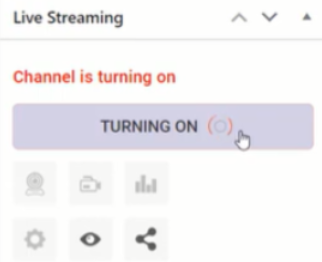
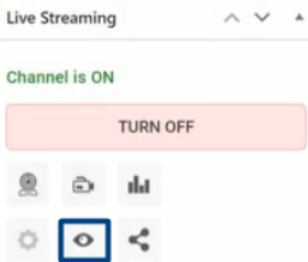
- You are ready to “TURN ON” your channel. Once your channel has been turned on, you can go LIVE with an External Streaming App.
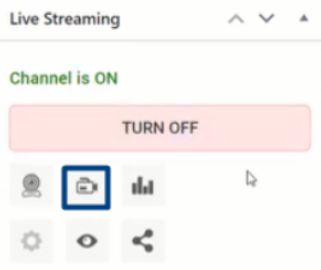
- Choose your preferred streaming APP. We are using OBS Studio. Copy the Server and Stream Key.

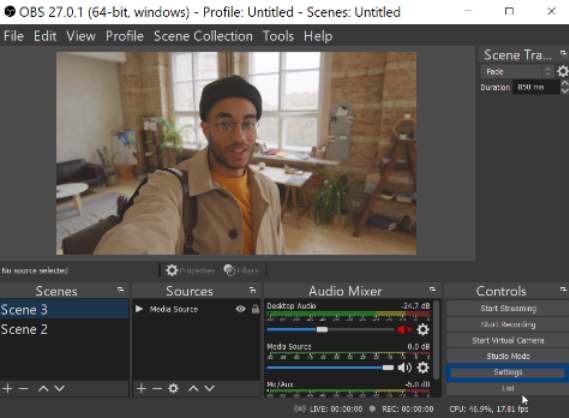
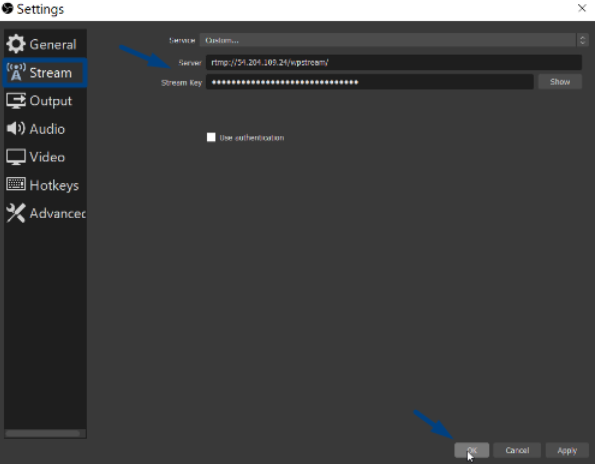
- Open OBS Studio, go to “Settings”, and then “Stream”
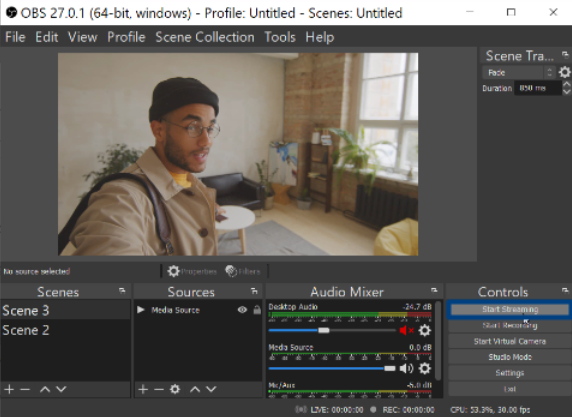
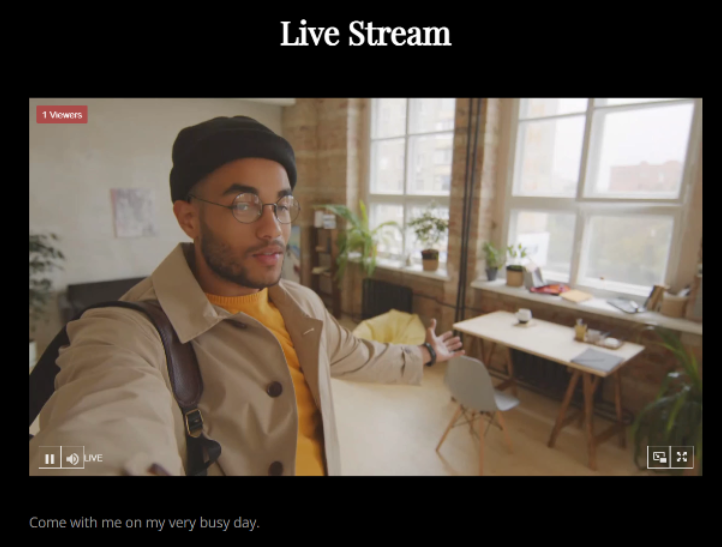
- Click on “Start Streaming”, go back to WpStream and click on “View Channel”
- Go to OBS Studio and click on “Settings”.
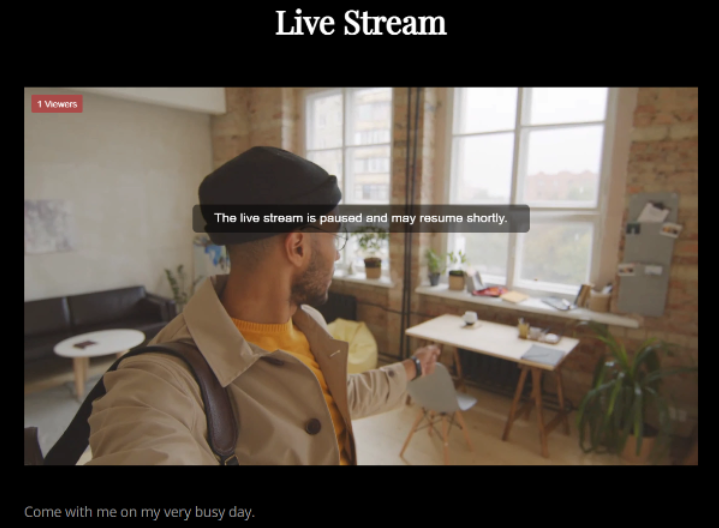
- You will be taken to your Live Stream immediately.
- Once you are done, go back to OBS Studio and click on “Stop Streaming”
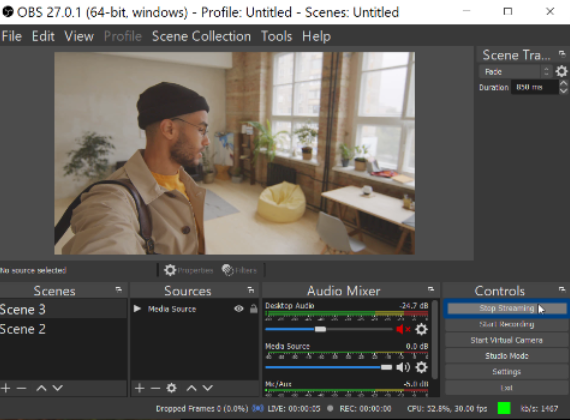
- Your live stream would have ended and the following message appears.